Getting started
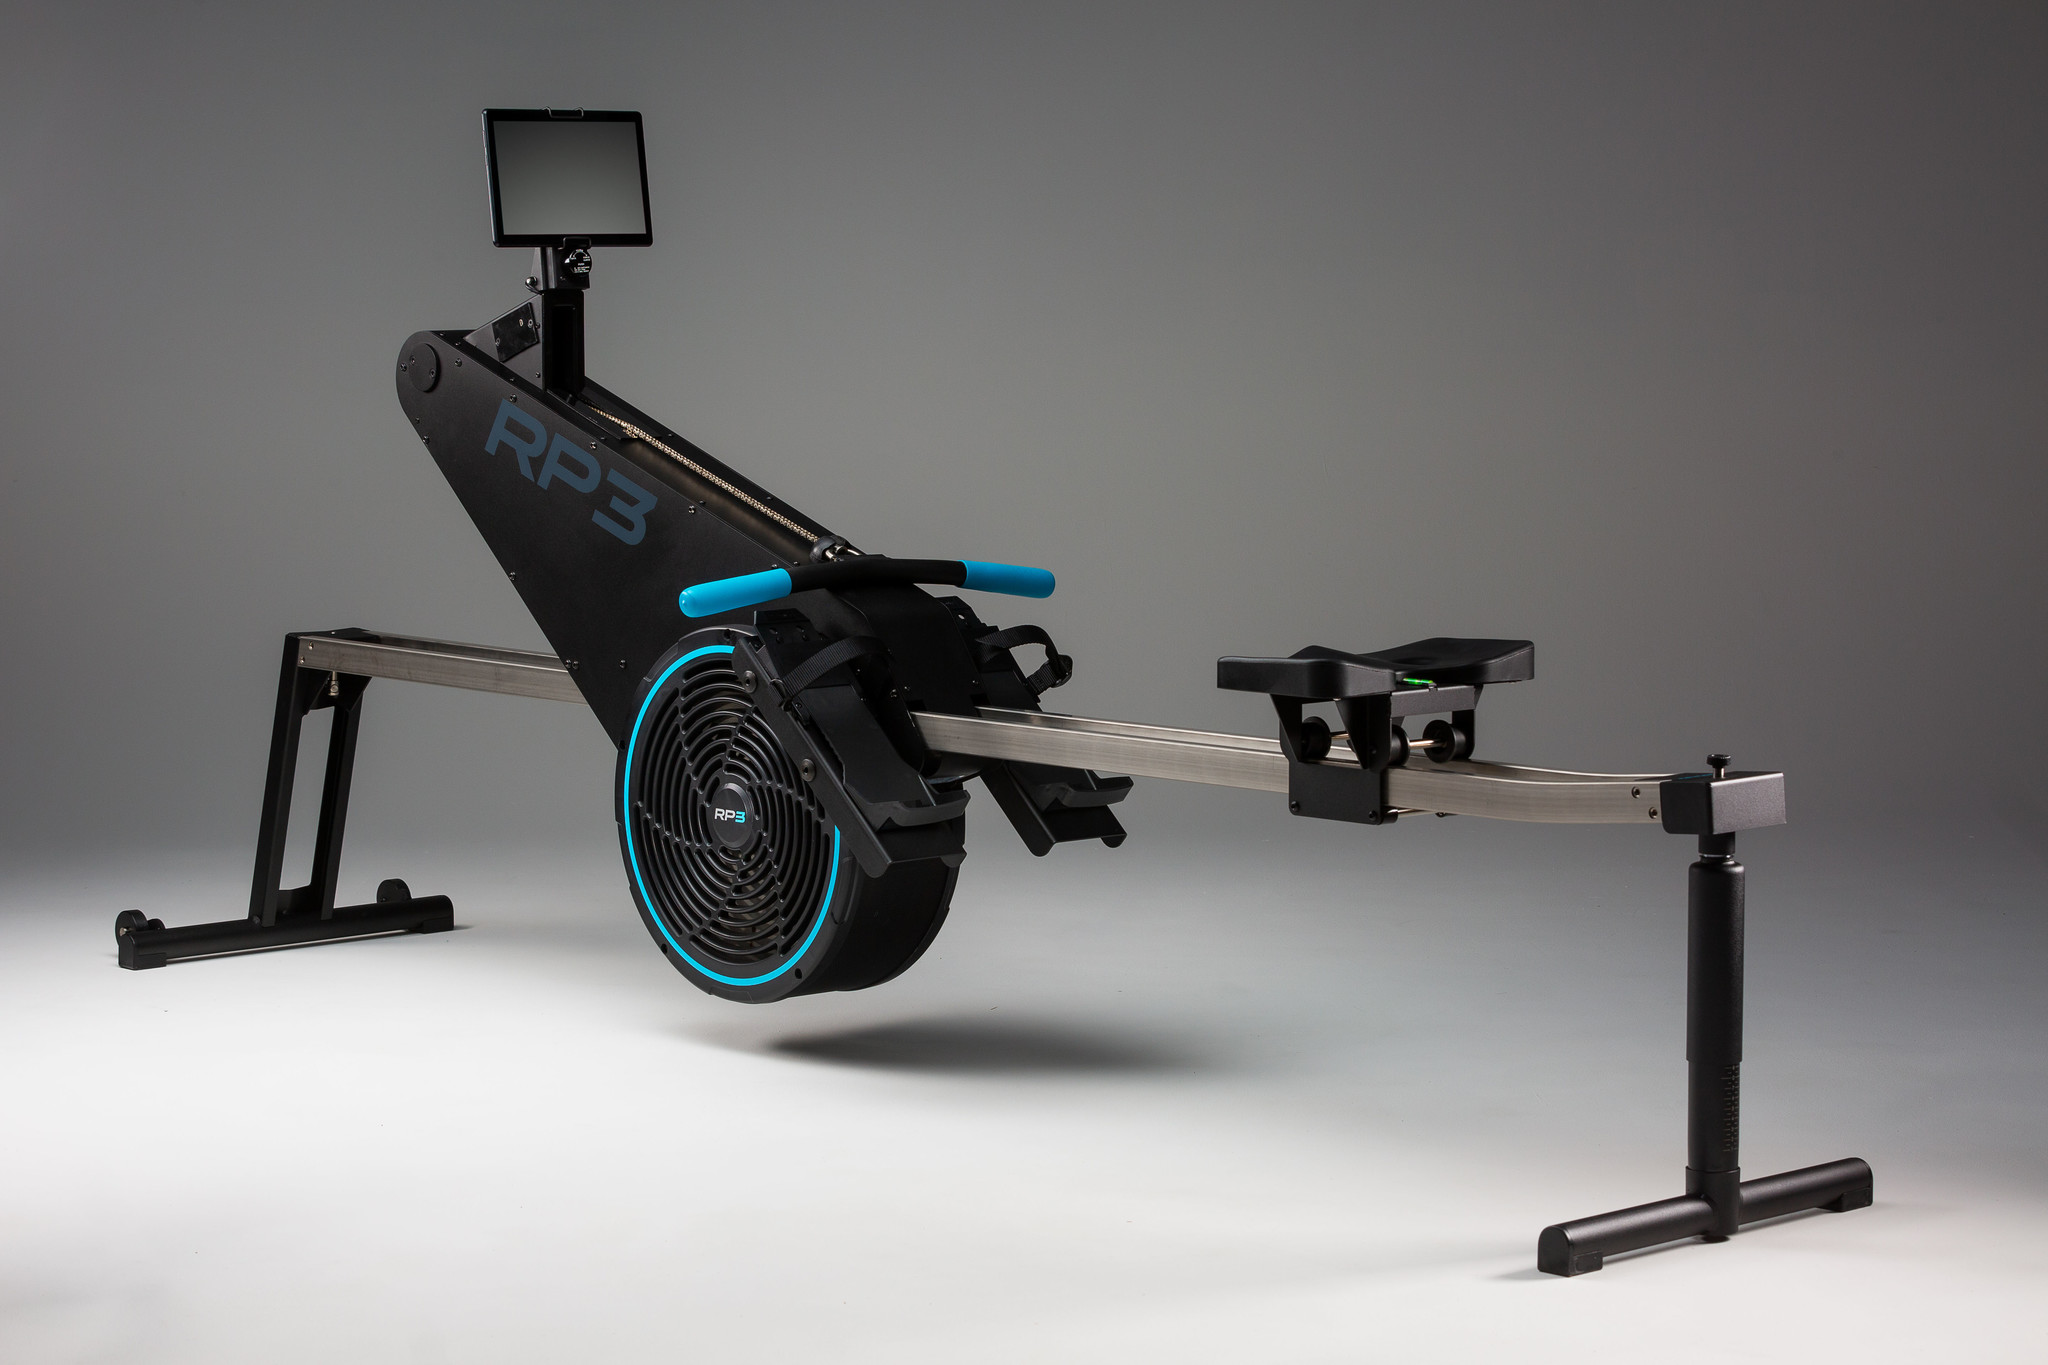
RP3 Model T
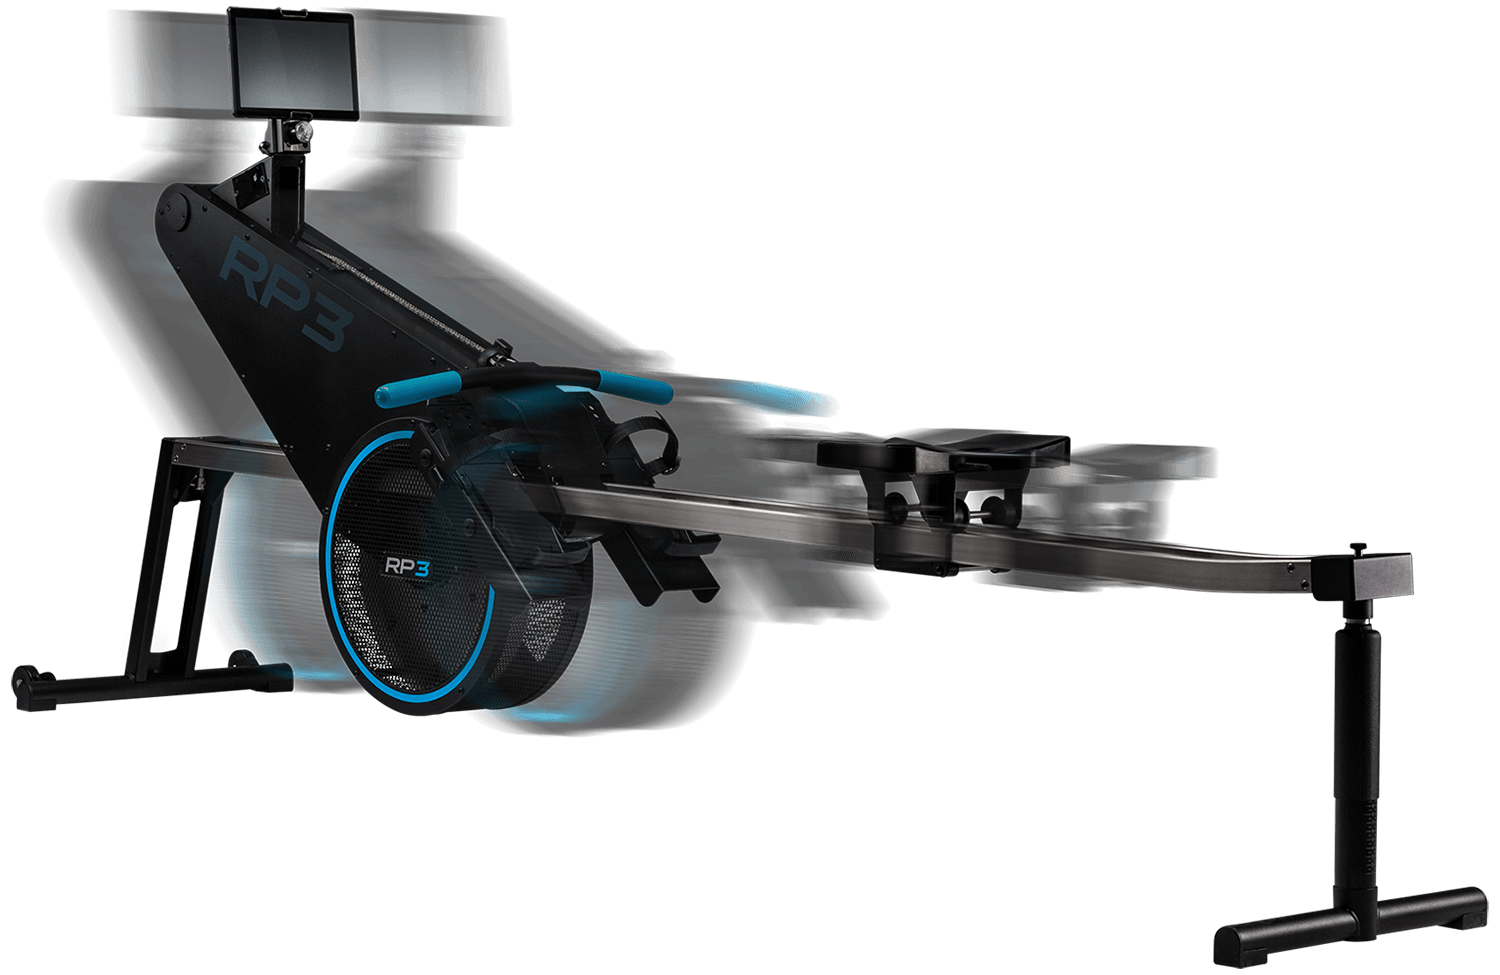
1. The Model T features an air-sprung rear leg which serves two purposes. Firstly, it simulates what happens to a boat at the finish of the stroke, allowing the machine to dip slightly and also enabling the adjustment of the angle of the bar. If you find you cannot stay central on the machine during use and keep sliding and hitting either the front of the bar with the machine or the rear of the bar with the seat, use the foot button on the left support on the rear leg to raise or lower the rear of the bar (similar to a desk chair) to make the angle level. This may require fine-tuning for rowers of different bodyweight.
2. The level of resistance the user feels on the handle during the stroke is adjusted by moving the slider on top of the machine between 10, for high resistance, and 0 for low resistance. For additional information about the resistance, look at the following page.
3. Set the height of the footplate. On the footplate there is an adjustable strap to set the height of your feet. This is not only related to foot size but also to the length of your shin and hip flexibility among other factors. The best way to find your optimal height is to see if your shins can get to vertical in the catch, if not, lower your footplate. If you feel that your knees easily pass vertical, you can try a higher setting. Look in a mirror or have a friend take a look while finding your optimal setting.
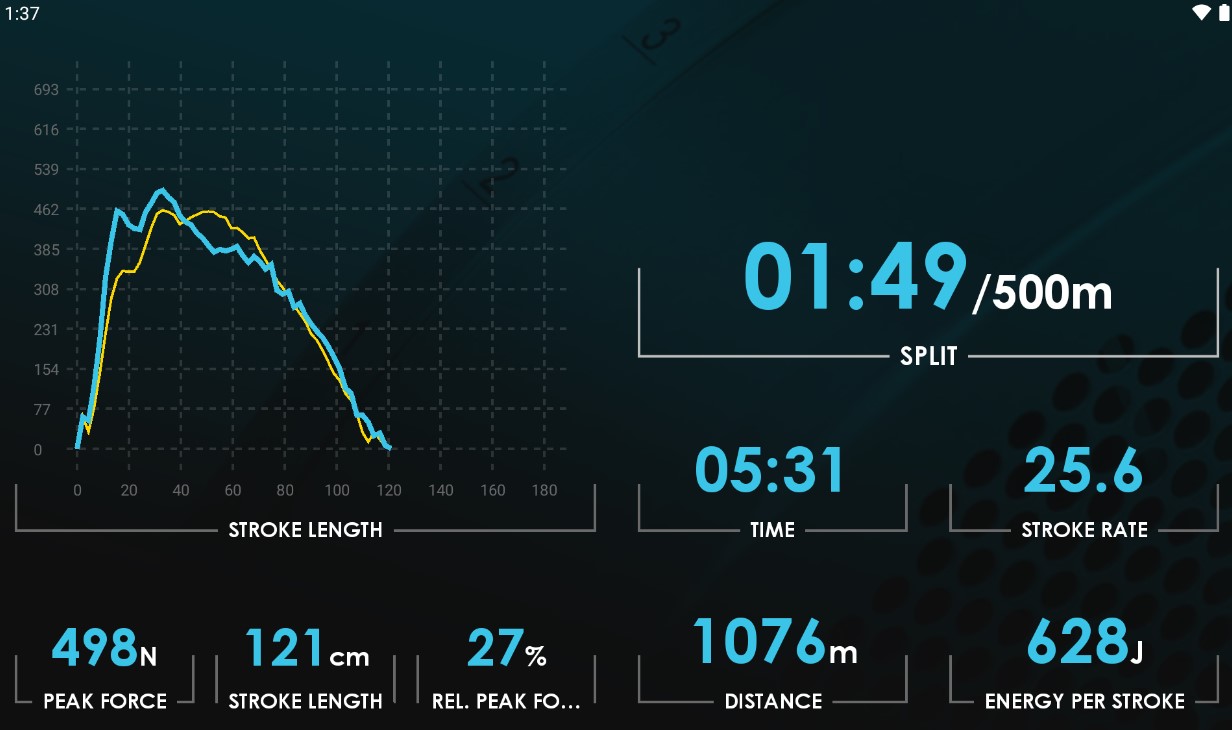
4. To connect a tablet or smartphone to the machine and view your rowing parameters or set up a workout, firstly install and open the “RP3 Rowing” App on your android or iOS device. Please note the iOS app is currently only offered in “lite” format which provide less (3) fields of information to select. Then, use either the USB cable provided or Bluetooth to connect the tablet to the RP3 (USB connection with iPhone is not available).
If it does not automatically connect, take a stroke to "wake the machine" and select “Devices” in the bottom right corner of the app and select “USB device” for cable connection or the corresponding reference code for the machine you want to connect to on Bluetooth. Be sure the PowerBank (battery) is charged when using BT. Heartrate monitors are also connected this way. The RP3T also features a built-in small screen that can be switched between showing a power curve or rowing parameters.
5. After using the machine, ensure the top and bottom of the main bar are cleaned. This prevents dirt from building up inside the machine and will keep it running smoothly. Antibacterial spray and paper towel is ideal for this.
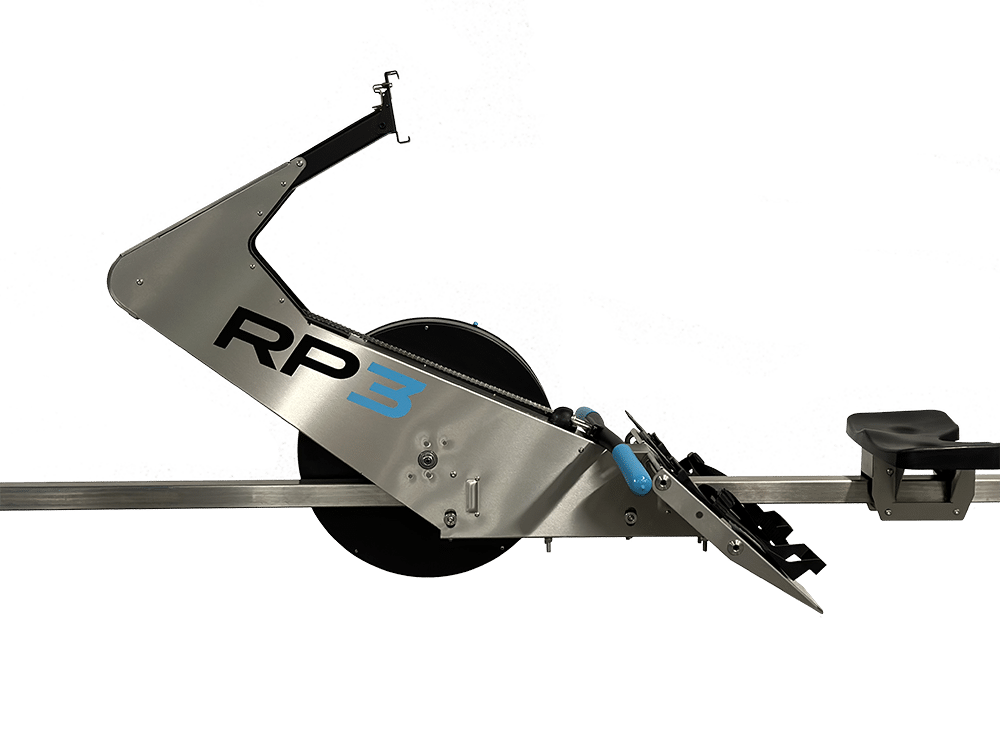
RP3 Model S
1. To use the machine, unhook it from the main bar using the clip behind the footplate on the righthand side. Rotate the stopper a full 180 degrees to ensure it remains held away from the bar.
2. If you cannot stay centered on the machine during use and keep sliding and hitting either the front of the bar with the machine or the rear of the bar with the seat, adjust the angle of the bar using the knob over the rear leg. This raises or lowers the leg, adjusting the angle of the bar relative to the floor.
3. The level of resistance the user feels on the handle during the stroke is adjusted by moving the slider on top of the flywheel cage between 10, for high resistance, and 0 for low resistance. For additional information about the resistance, look at the following page.
4. Set the height of the footplate. On the footplate there is an adjustable strap to set the height of your feet. This is not only related to foot size but also to the length of your shin and hip flexibility among other factors. The best way to find your optimal height is to see if your shins can get to vertical in the catch, if not, lower your footplate. If you feel that your knees easily pass vertical, you can try a higher setting. Look in a mirror or have a friend take a look while finding your optimal setting.
5. To connect a tablet or smartphone to the machine and view your rowing parameters or set up a workout, firstly install and open the “RP3 Rowing” App on your android or iOS device. Please note the iOS app is currently only offered in “lite” format which provides a limited number of data fields to use (3).
Then, use either the USB cable provided or Bluetooth connection for applicable machines to connect the tablet to the RP3. If it does not automatically connect, take a stroke to "wake the machine" and select “Devices” in the bottom right corner of the app and select “USB device” for cable connection, or the corresponding reference code for the machine you want to connect to on Bluetooth. Be sure the PowerBank (battery) is charged when using BT (see also nr. 6 below). Heartrate monitors are also connected this way.
6. After using the machine, ensure the top and bottom of the main bar are cleaned. This prevents dirt from building up inside the machine and will keep it running smoothly. Antibacterial spray and paper towel is ideal for this.
7. If you have a Bluetooth compatible machine, the Bluetooth module is powered by a rechargeable power bank. This power bank will need to recharge roughly once a month. It is recharged with a standard micro-USB charger and accessed by unscrewing the black thumbscrew on the back of the machine and lifting the panel. The powerbank can be unplugged from the machine to recharge it.


